This guide walks you through the process of uploading, verifying, and updating attendance codes to ensure the correct messages are sent to families in ReachMyTeach.
1. Upload Your File via SFTP
Ensure your district has set up the SFTP connection for sending attendance files.
When a file is dropped into the SFTP, it is automatically queued for processing.
The timing of the file drop determines when messages will be sent to families.
2. Access the Verify Page
Only users with A+ access at the district level can view and use the Verify page.
Navigate to the Verify page in your Integration page.
-
After sending a file with data, click Verify page will display the incoming file:

You will now see the breakdown of codes included in the file.
3. Update Attendance Codes
On the Verify page, you can update how codes are categorized.
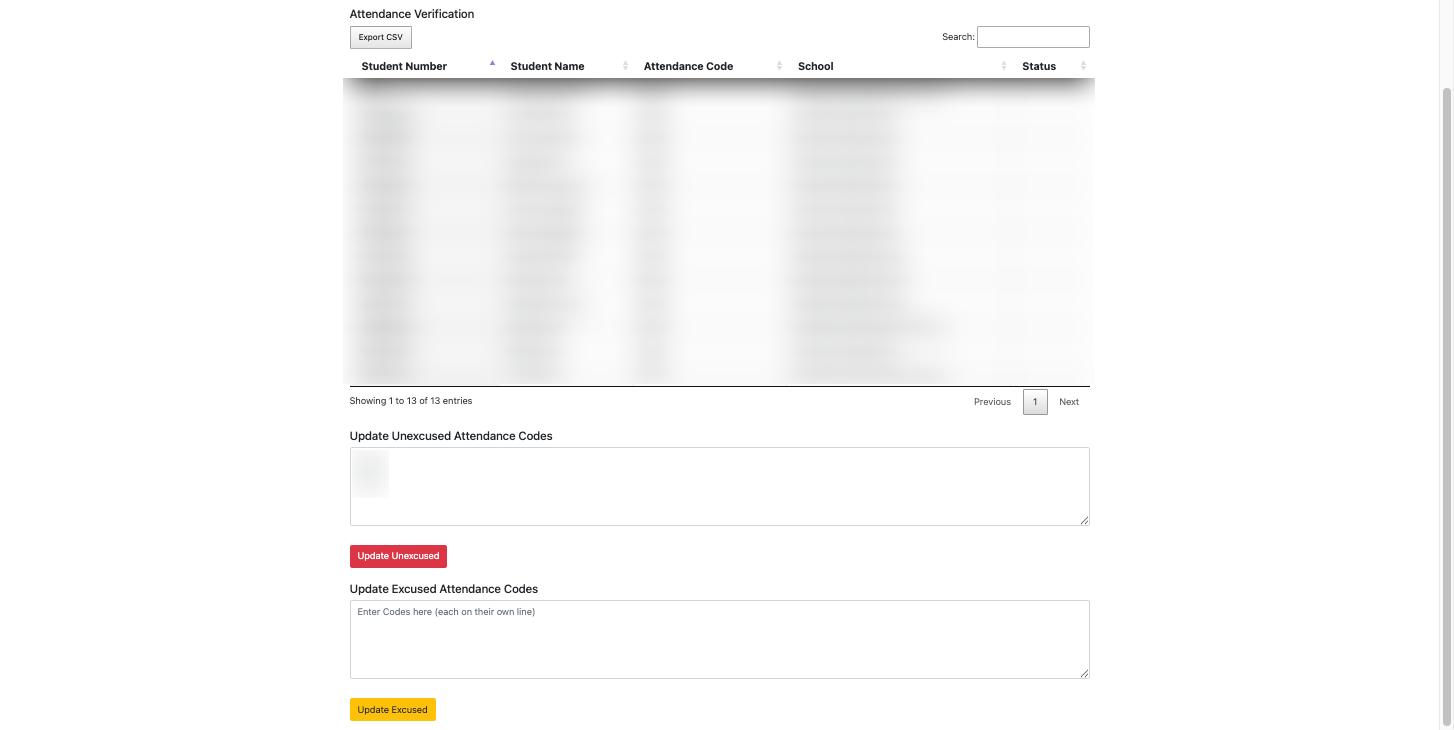
Excused Codes: Mark any code that should not trigger a notification to families.
Unexcused Codes: Mark codes that should trigger an automatic absence message in ReachMyTeach.
⚠️ Important: Only unexcused codes will generate messages to families. Excused codes will be logged but will not notify parents/guardians.
4. Update and Confirm
The system will then send messages for all students marked with unexcused absences.
5. Troubleshooting
If your file does not appear on the Verify page, confirm that it was dropped in the correct SFTP folder.
Check your permissions—only district-level A+ users can view the Verify page.
If messages are not being triggered, make sure the correct absence codes are set as “unexcused.”
✅ Quick Reminder: Updating excused vs. unexcused codes correctly is critical. Only unexcused absences will notify families in ReachMyTeach.
Was this article helpful?
That’s Great!
Thank you for your feedback
Sorry! We couldn't be helpful
Thank you for your feedback
Feedback sent
We appreciate your effort and will try to fix the article